Understanding the Exposure Triangle
Every photographer starts somewhere, and the exposure triangle is often the first concept that feels pretty confusing. However, it is the foundational principle of photography, so it's so important to understand!
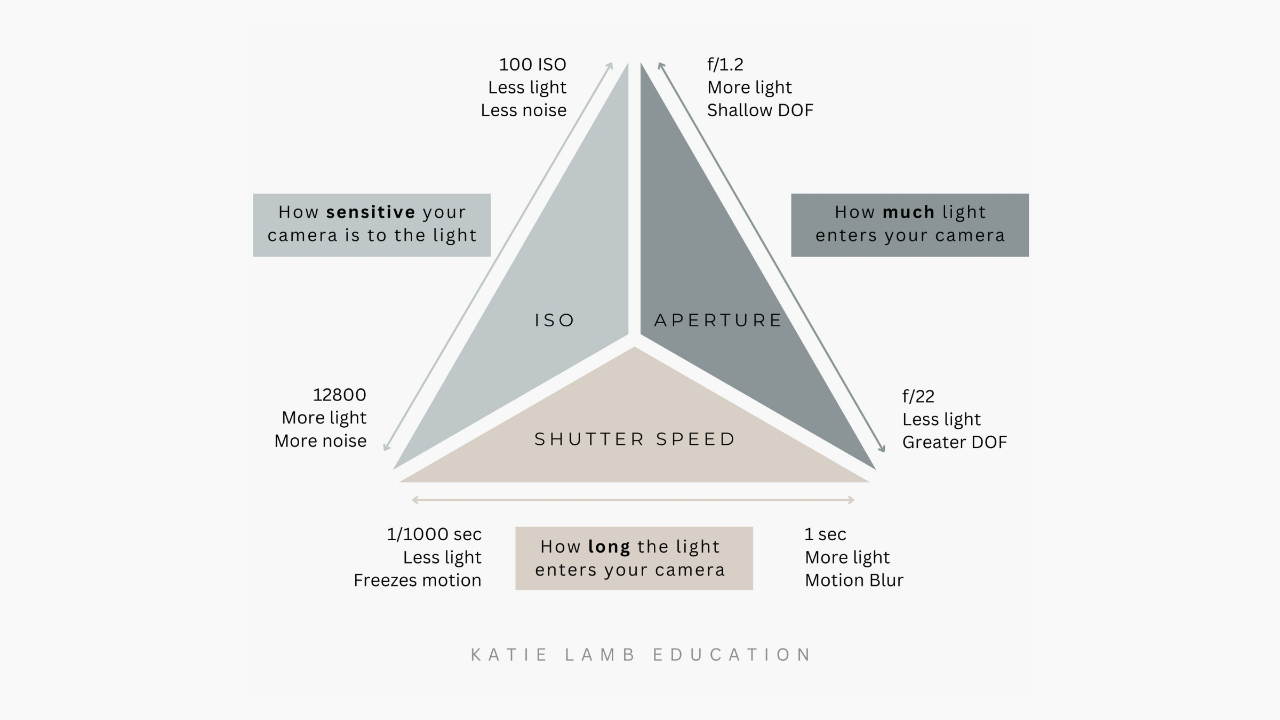
The exposure triangle refers to the three settings that control how your photo is exposed: aperture, shutter speed, and ISO. These three settings work together to determine how bright or dark your photo will be, and just as importantly, how the image feels. Whether you want creamy, blurred backgrounds or crisp action shots, it all comes down to understanding how these three elements interact with one another.
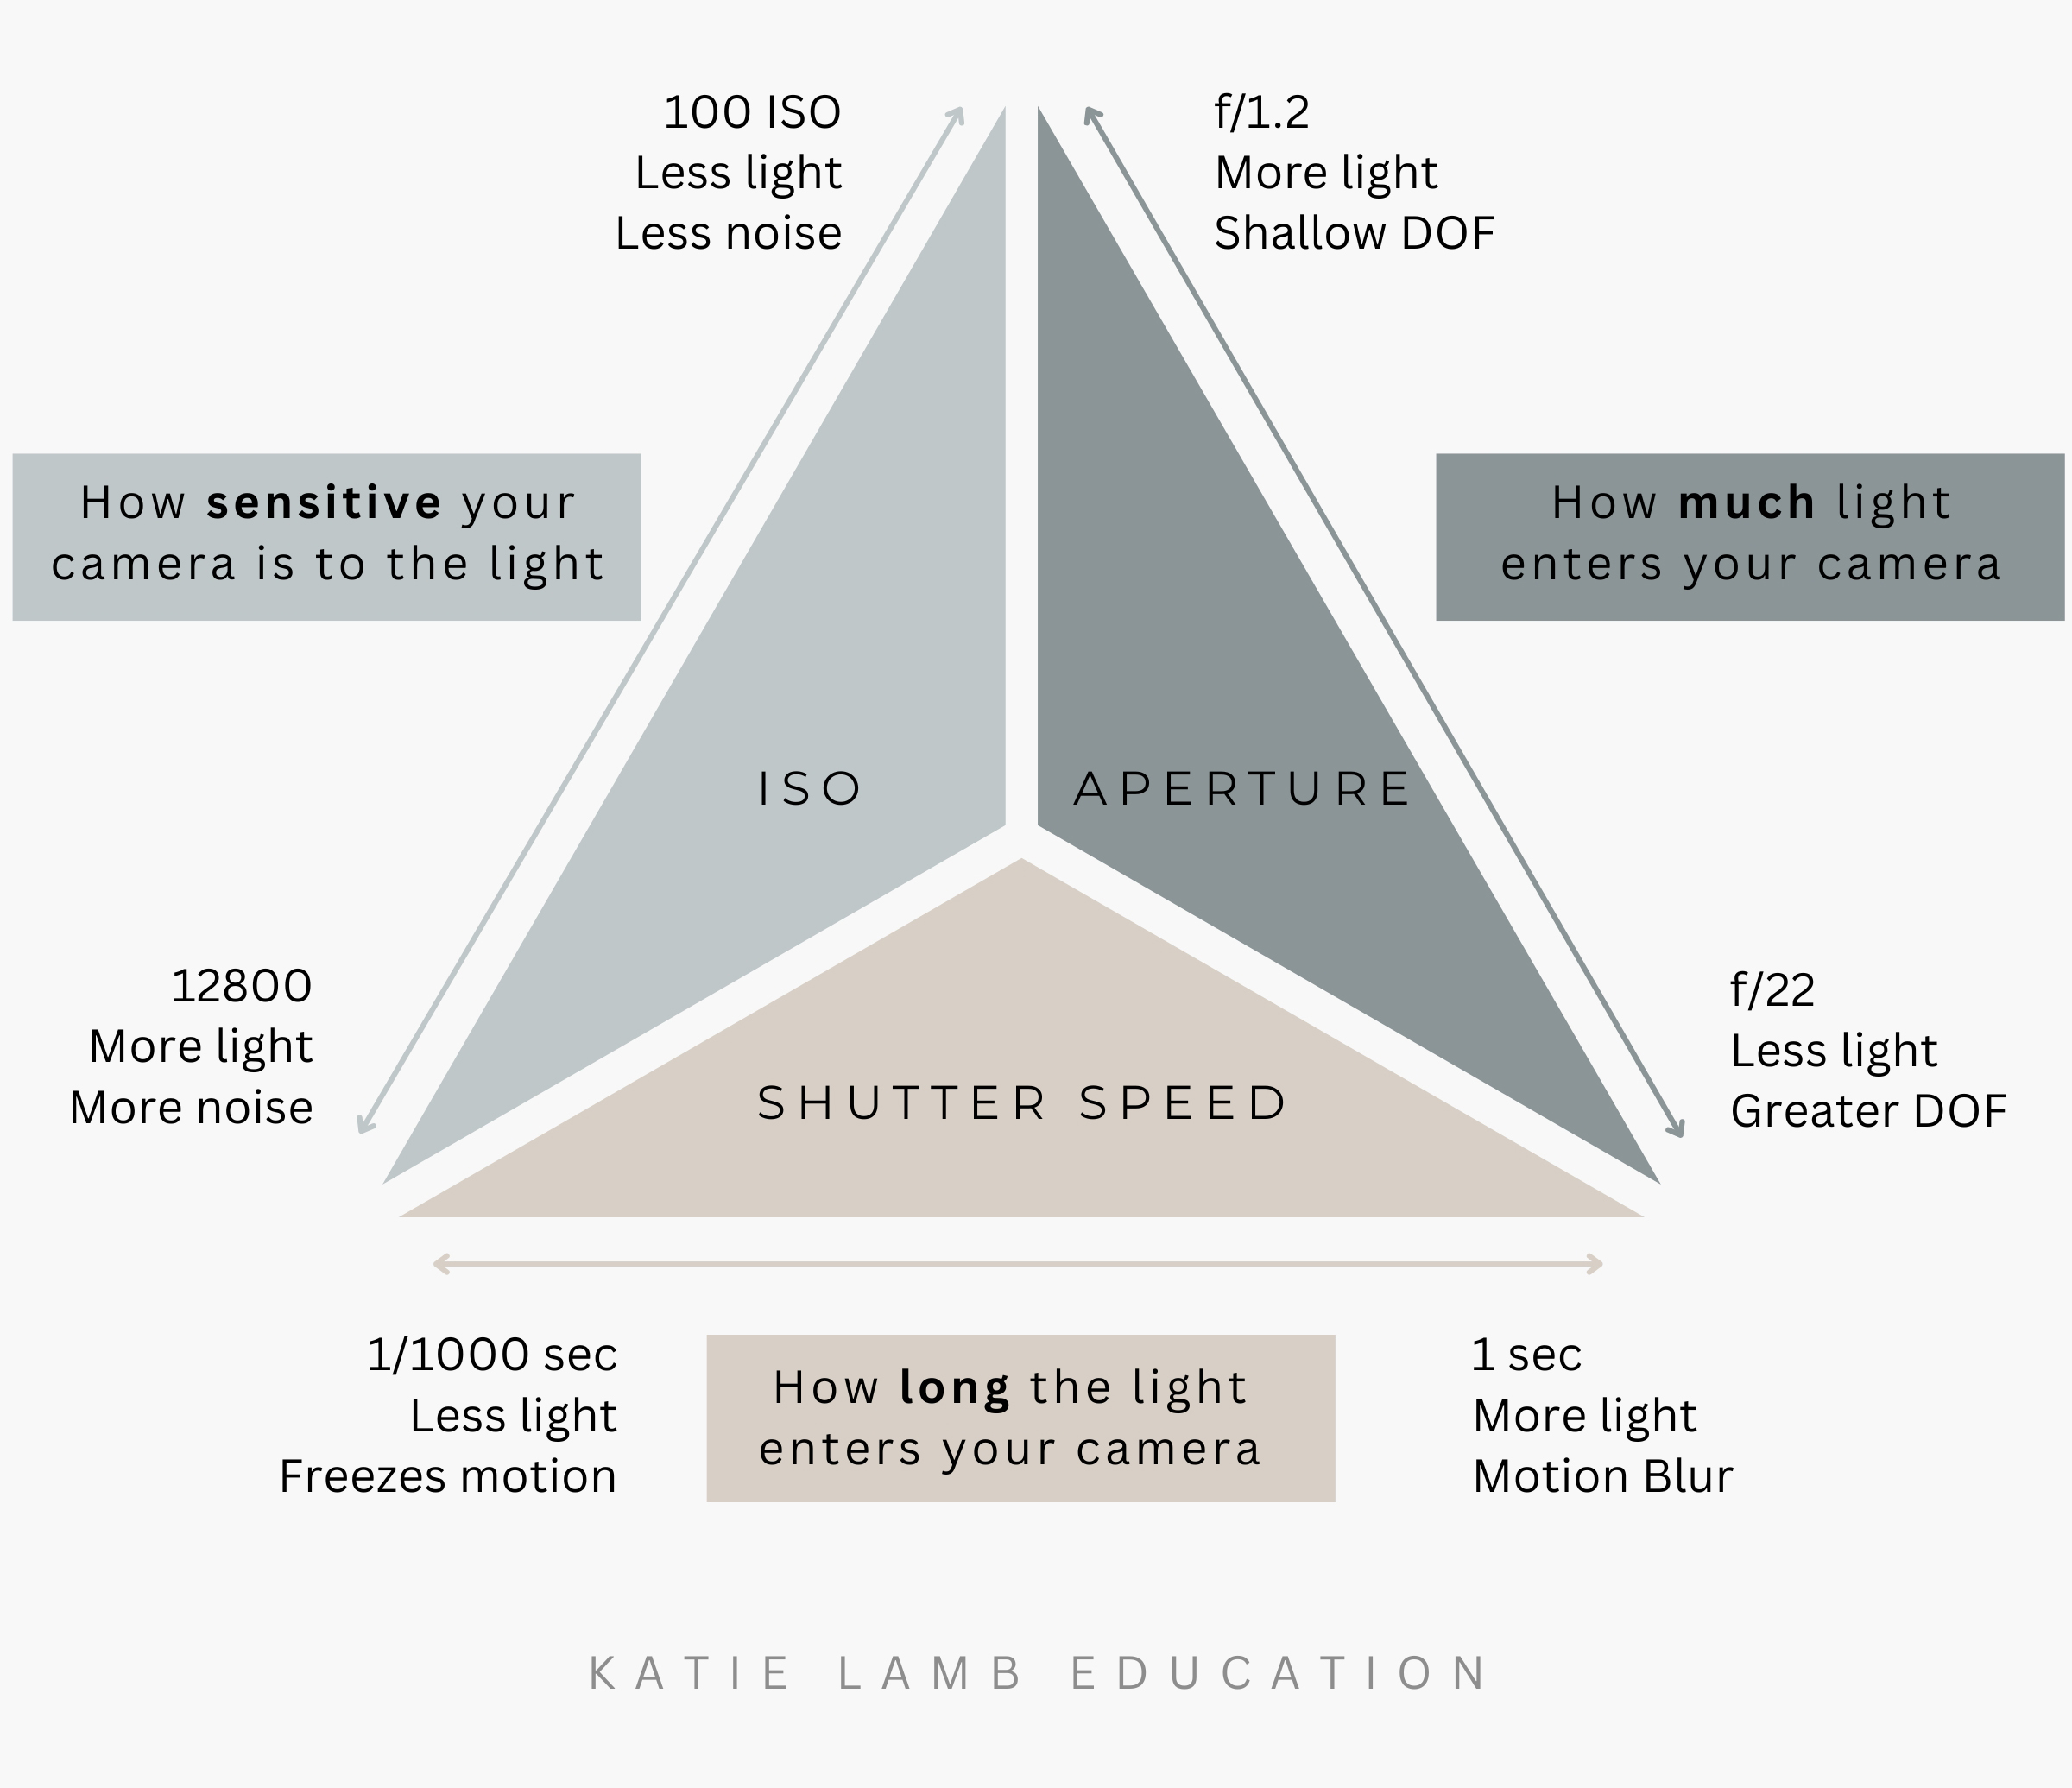
Aperture: How MUCH light enters your lens (and how much is in focus)
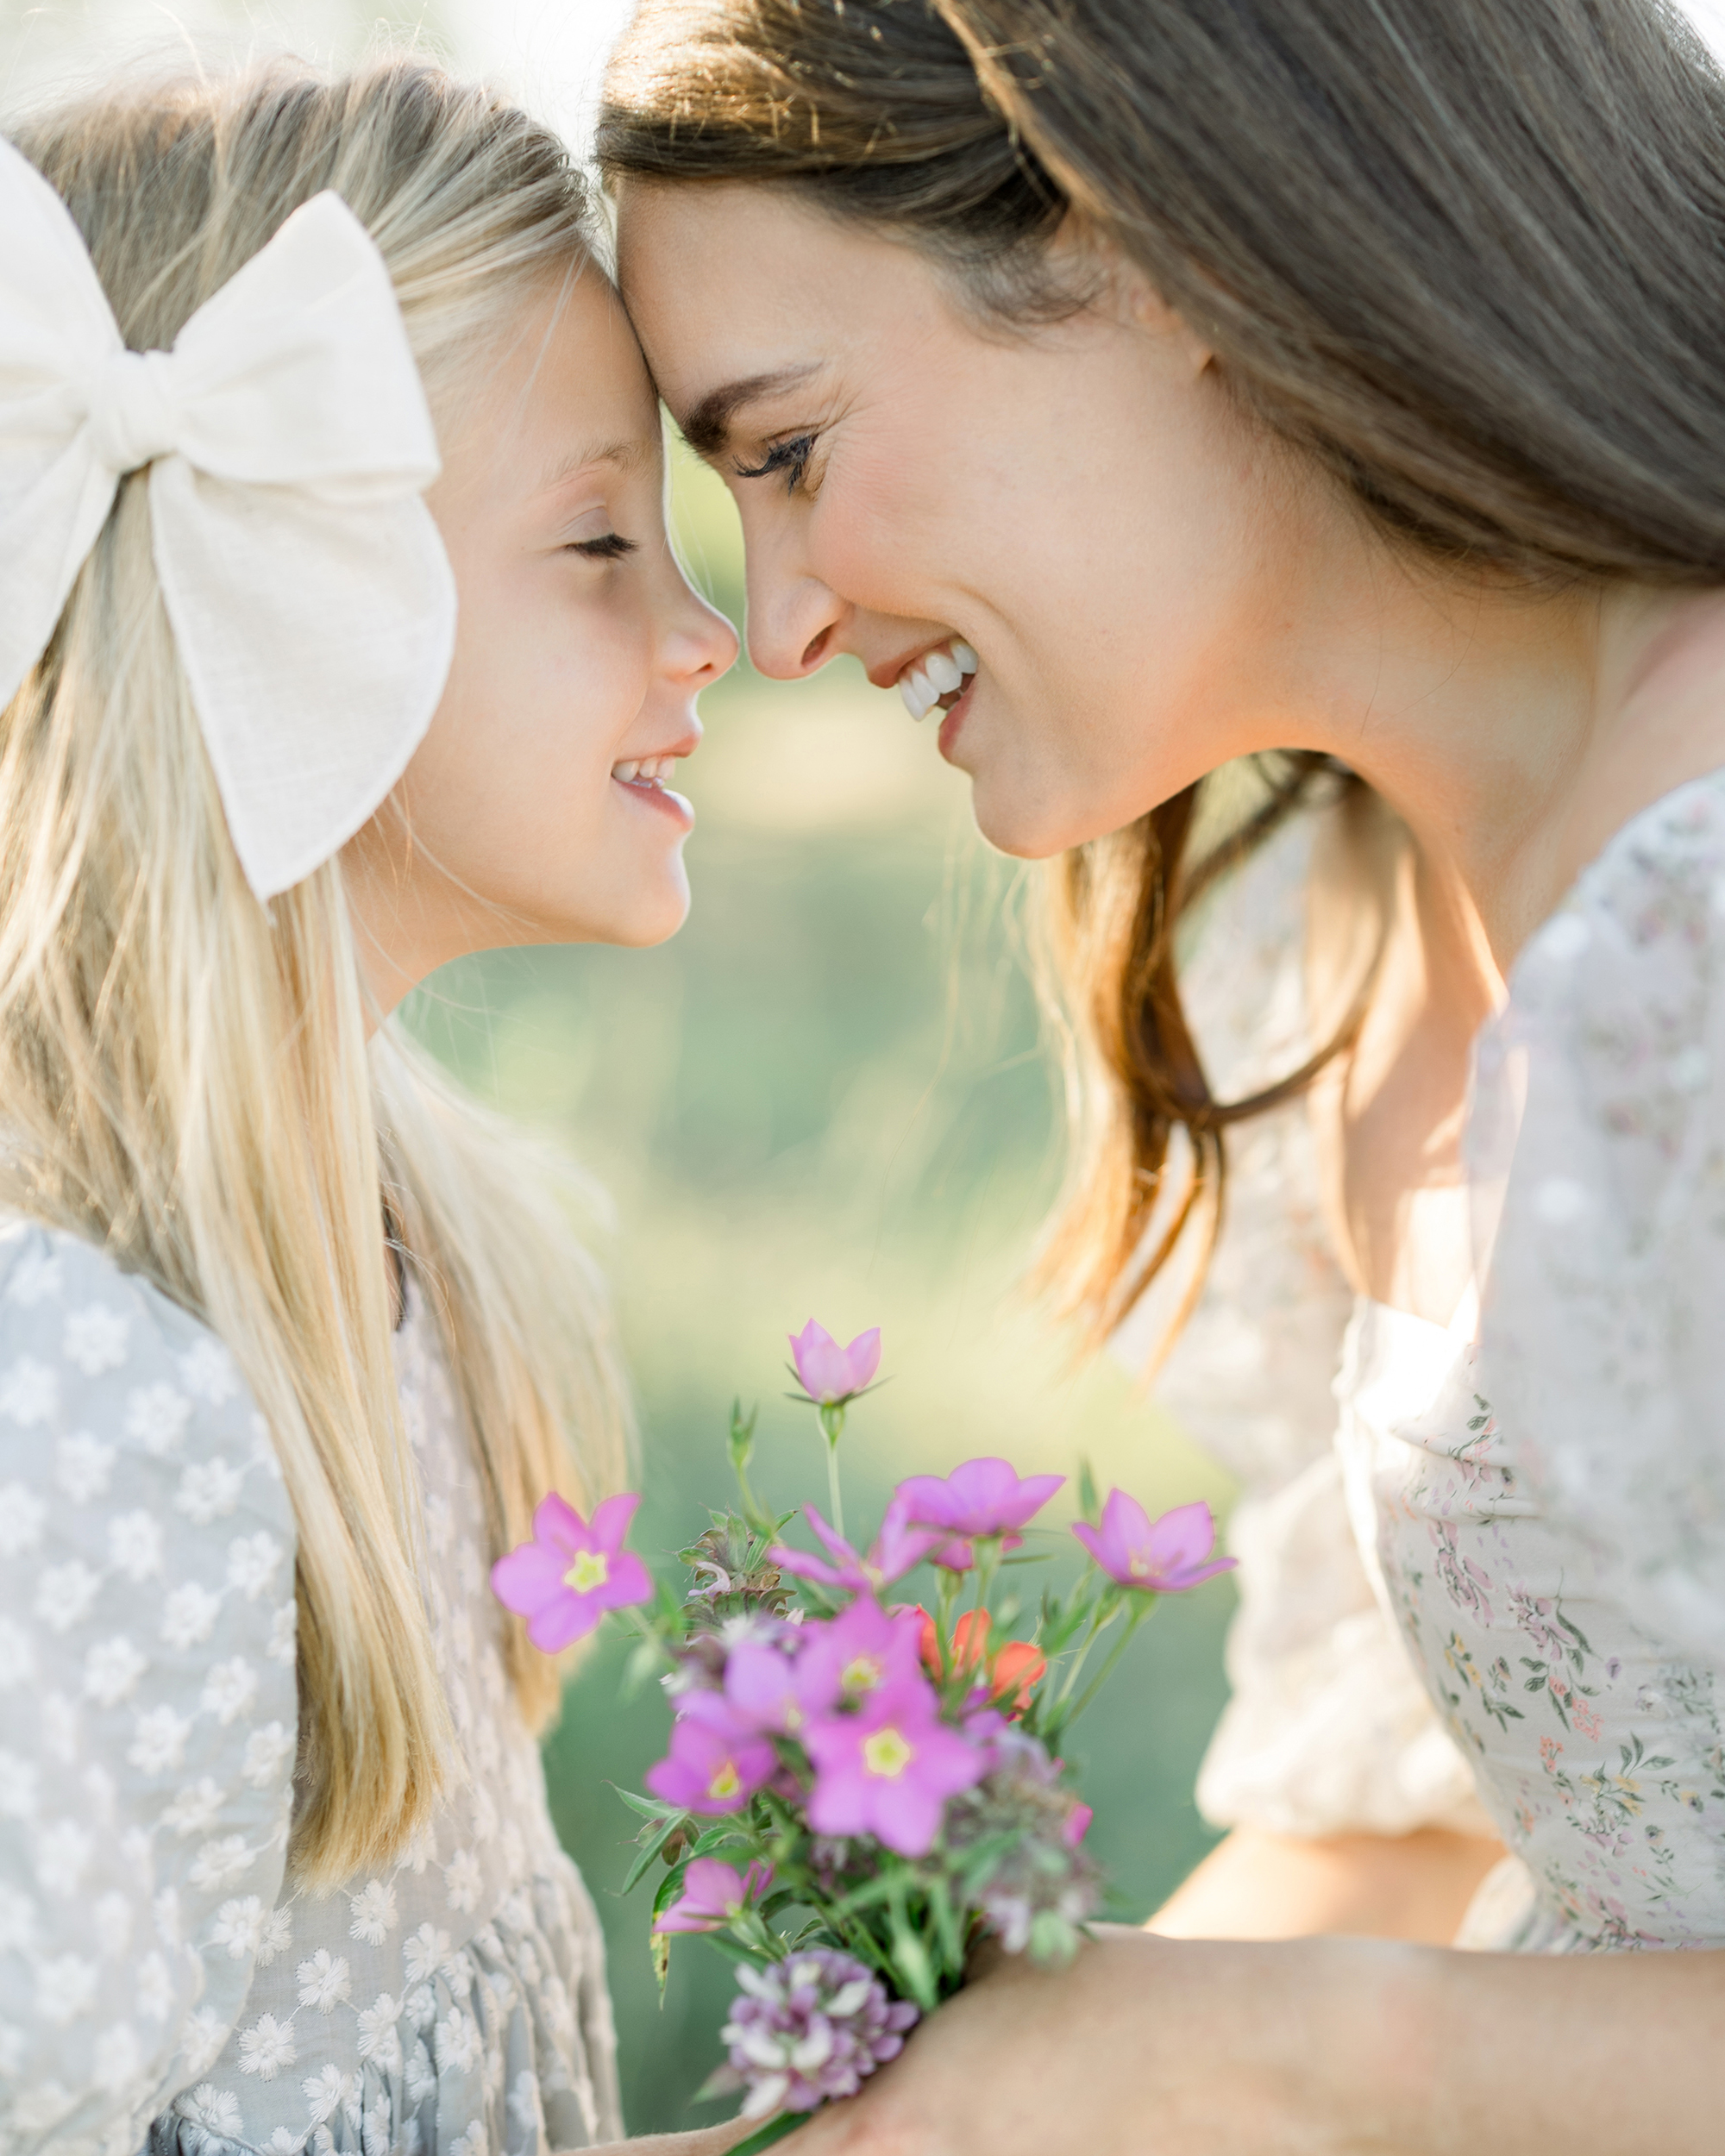
Aperture refers to how wide your lens opens when taking a photo. It’s measured in something called ƒ-stops, which can feel backwards at first. A smaller ƒ-number like ƒ/1.2 means a wider opening, which lets in more light and creates a shallow depth of field (meaning, less of the image is in focus. This is what creates blurry backgrounds). On the flip side, a larger number like ƒ/22 means a narrower opening, which lets in less light but keeps more of the image in focus.
If you're wanting that pretty, soft background (called “bokeh”), a wider aperture like ƒ/1.8 is a great choice. But if you're photographing a landscape and want everything sharp, you’ll want to stop down to something like ƒ/8. However, that being said, shooting with wide apertures takes practice to ensure that you get everything in focus that you are intending to be in focus!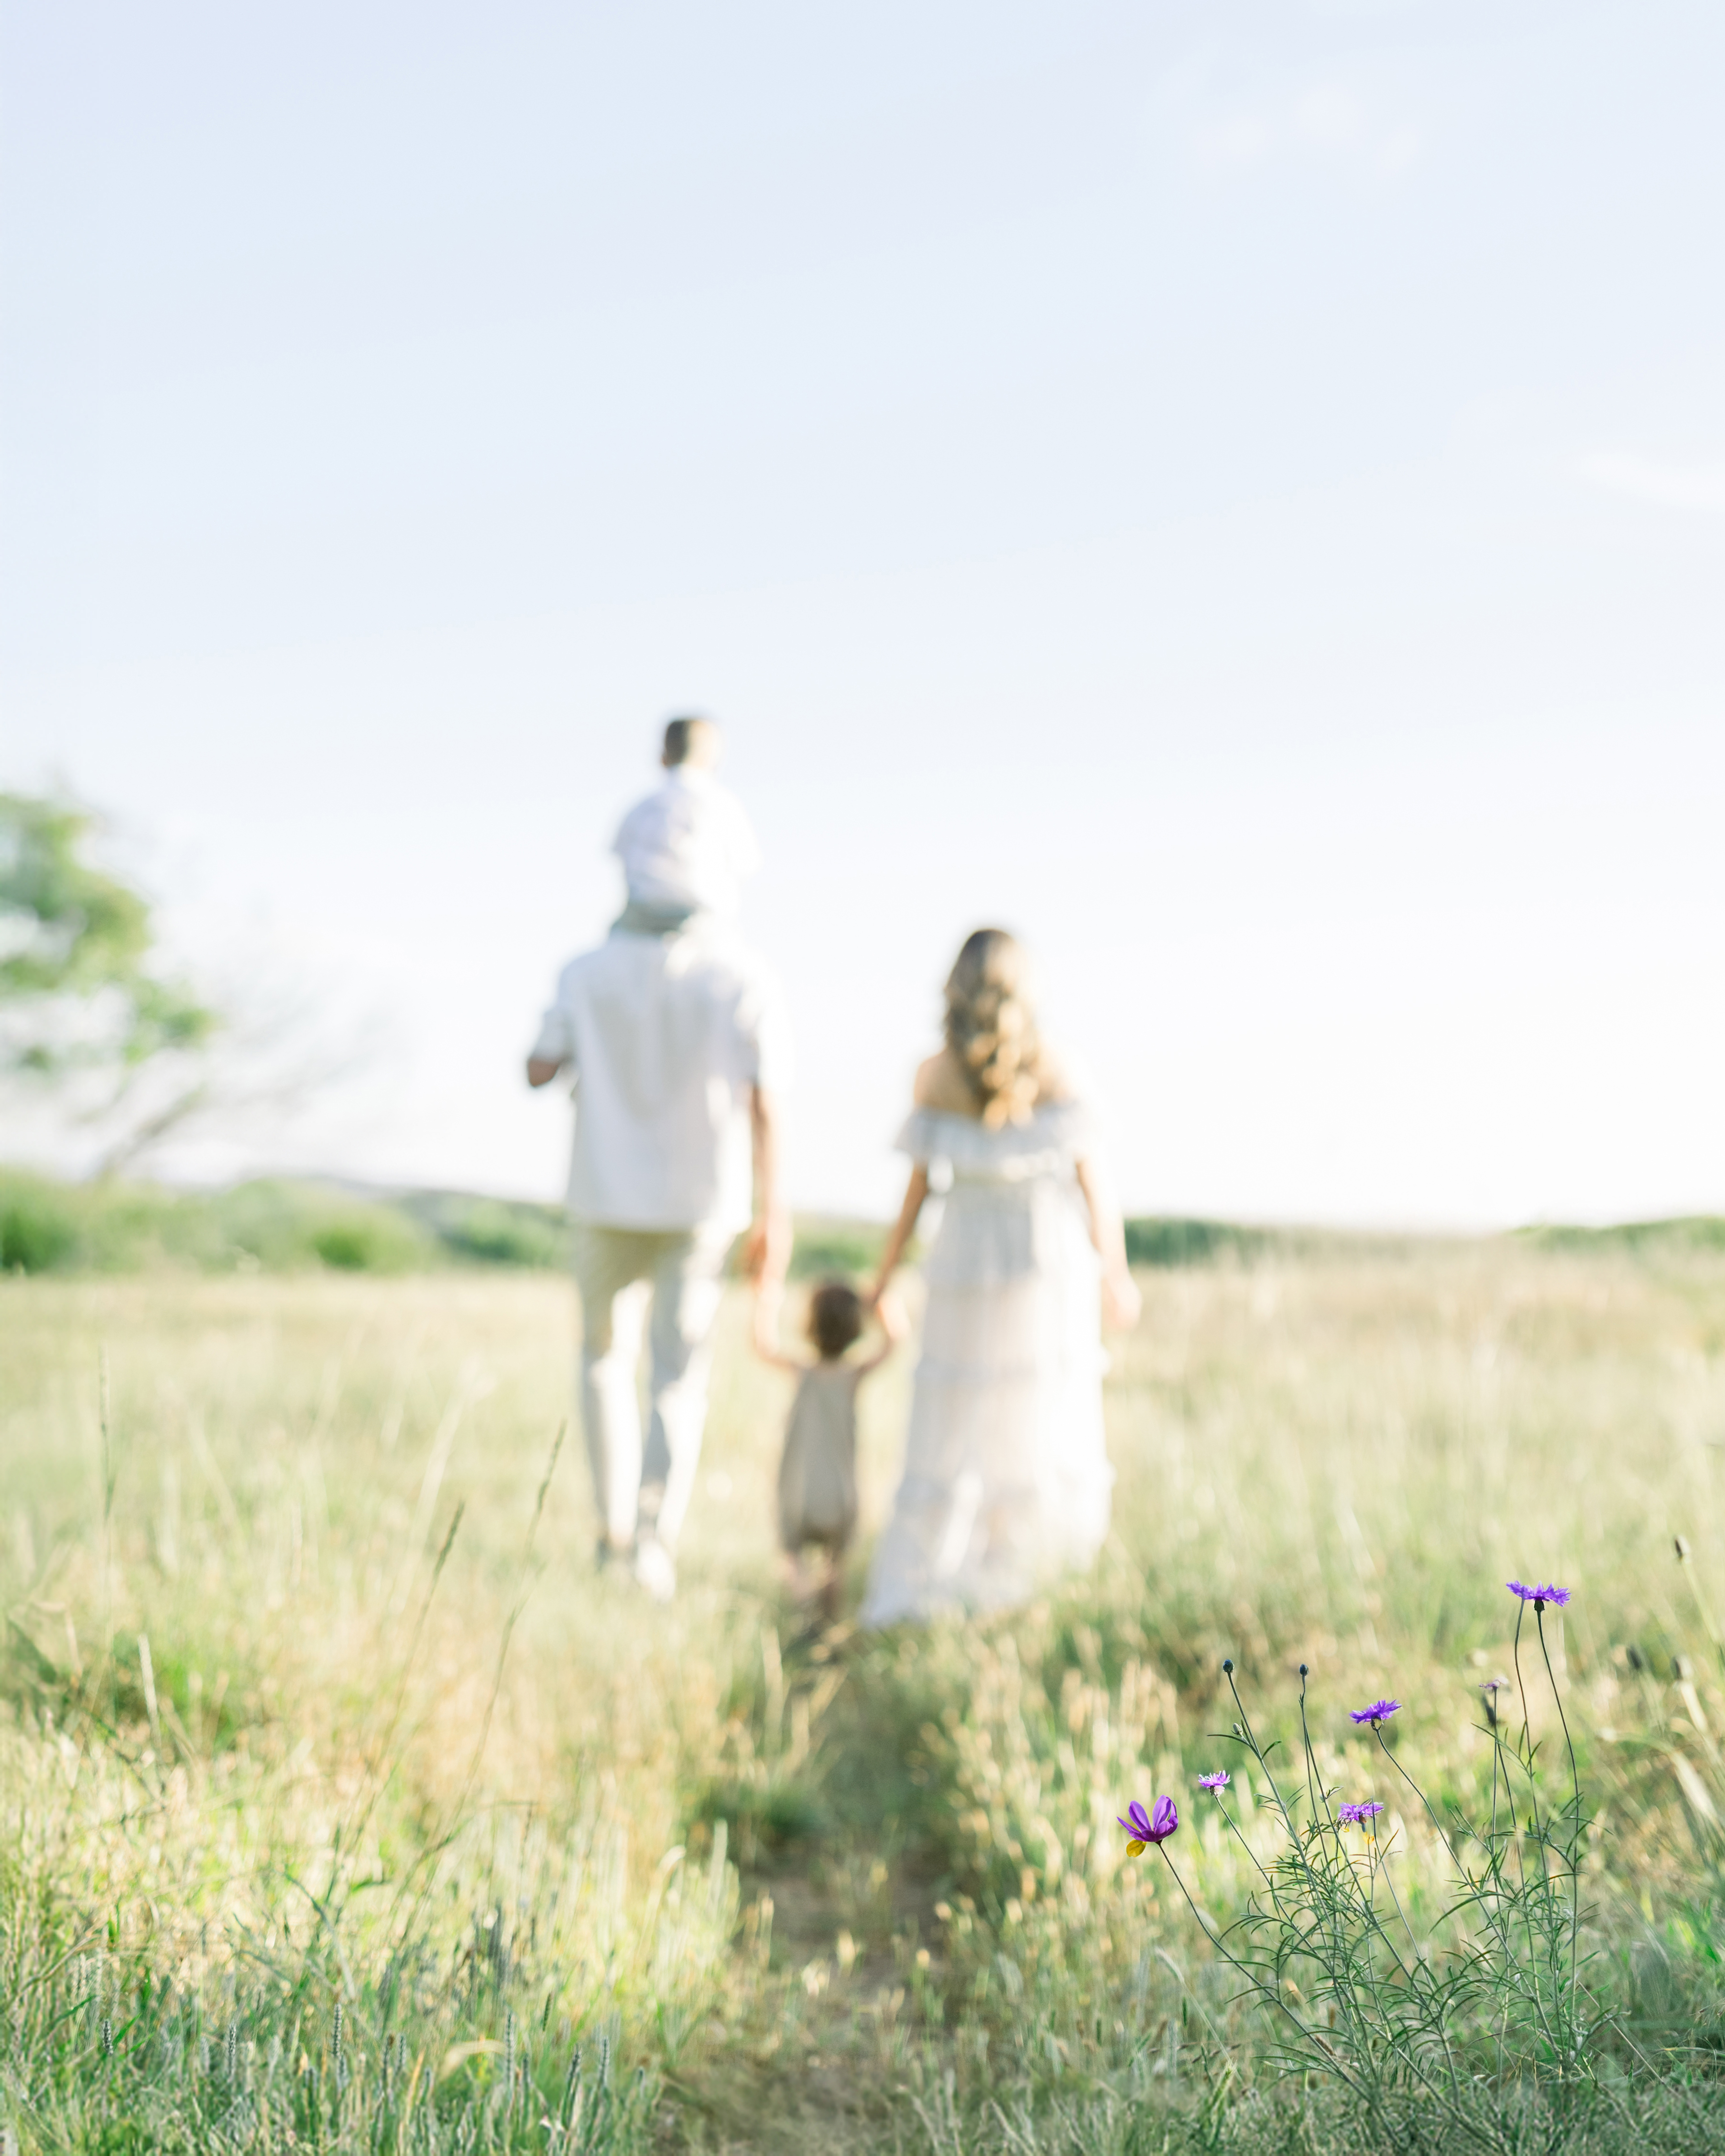
Shutter Speed: How LONG the light enters your lens (and freezing motion)
Shutter speed controls how long your camera’s sensor is exposed to light. Think of it like a curtain opening and closing: faster speeds mean the curtain opens and shuts quickly (which allows you to freeze motion) while slower speeds let the light in longer (which can create blur if there’s any movement).
If you’re photographing rambunctious children or trying to freeze someone jumping mid-air, you’ll want a fast shutter speed like 1/500th of a second or faster. If you’re going for that soft, blurry motion of a dress twirling, slower shutter speeds like 1/30th of a second will work best. Just remember, with slower shutter speeds, you’ll need to hold the camera very steady or use a tripod to avoid unintended blur.
The Water Faucet Analogy
I majored in Fine Art Photography in college, and my professor made an analogy to a sink's water faucet that always stuck with me and made it easy to understand the relationship between aperture and shutter speed:
Aperture is how wide you turn the faucet on.
Shutter speed is how long you leave the faucet running.

ISO: How sensitive your camera is to light
ISO refers to how sensitive your camera’s sensor is to light. A lower ISO like 100 or 200 keeps your image clean and free of grain, which is perfect for shooting in bright outdoor conditions. As the light drops, increasing your ISO can help you maintain a proper exposure without needing to open your aperture too wide or drop your shutter speed too low.
However, there’s a trade-off: using a higher ISO can introduce noise/graininess into your images. While modern cameras handle high ISO quite well compared to the digital cameras I was using 20 years ago, it’s always something to be aware of.
How the exposure triangle works together
Aperture, shutter speed, and ISO are like a balancing act. If you adjust one, you’ll often need to adjust one or both of the others to maintain a correct exposure.
For example, if you want to shoot with a wide aperture (like f/1.8 to get a soft, blurry background, then that will let in a lot of light, so you likely need to increase your shutter speed or lower your ISO to keep the image from becoming overexposed.
Start with your creative priority
So what comes first, the chicken or the egg? It all comes down to your creative priority. Is your priority to have super sharp images while photographing something like a track race? Well, then your shutter speed is your top priority.
For me, soft backgrounds and shallow depth of field are my top focus for my brand's style. This means my aperture is my top priority (even though all of them matter greatly!). So, I dial in my aperture and keep it the same for 99% of my session. My ISO is always at 100 or 200 since I shoot with the sun higher in the sky. So, then I'm only adjusting my shutter speed throughout the session to keep my images exposed correctly.
If you want to go more in depth with exactly how I shoot and edit to achieve my style, you'll love the Master the Light and Airy style course which you can learn more about HERE.
Learning manual mode and mastering the exposure triangle doesn’t happen overnight. It’s a process, and every great photographer has gone through it. So if it still feels tricky, that’s completely okay. You’re not doing it wrong. You’re learning, and that’s exactly where you’re supposed to be!
When you keep practicing and start to experience how these settings interact, something will eventually click, and before you know it, you’ll be dialing in your settings with without thinking twice about it!
As always, I’m cheering you on every step of the way! 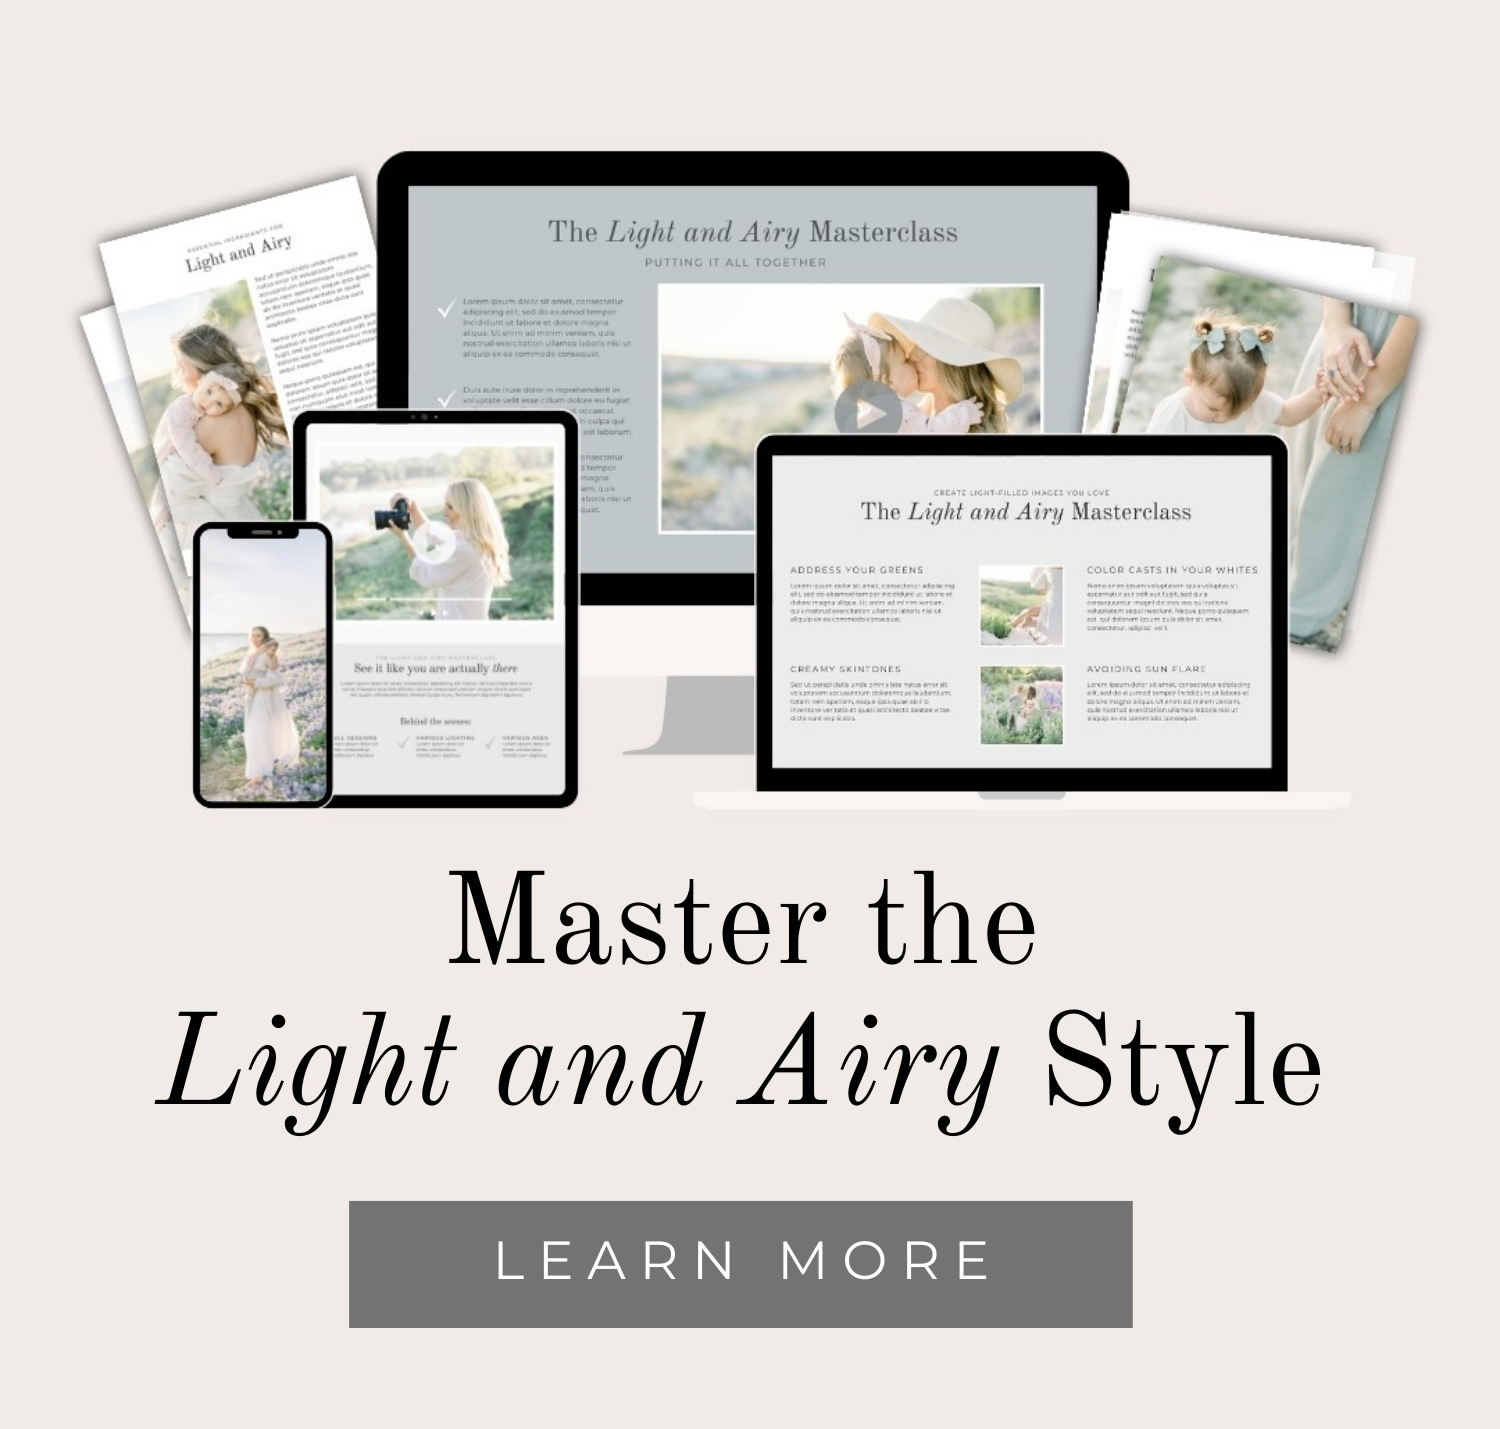
JOIN MY FREE EDUCATIONAL NEWSLETTER FOR PHOTOGRAPHERS
You’re going to love it here.